Few days ago, Microsoft has released new branch update (1810) for System Center Configuration Manager.
ConfigMgr Current Branch 1810 update is available as in-close update, which can be updated from all supported Current branch versions (1702, 1802 and 1806)
For complete list of features read whats new in 1810
Before proceeding with SCCM branch upgrade, it is very important to review SCCM Current Branch servicing (upgrade) checklist
This step by step SCCM 1810 upgrade guide will guide you through upgrading SCCM Current branch from all supported previous versions to SCCM Current Branch 1810.
Downloading the SCCM CB 1810 update:
1. Use FastRingScript_1810.exe to upgrade the site to 1810 without waiting for global release.
2. Download FastRingScript_1810.exe from TechNet gallery
3. Extract the downloaded FastRingScript_1810.exe
4. Launch PowerShell as Administrator
5. Change the current directory to the FastRingScript_1810 script path
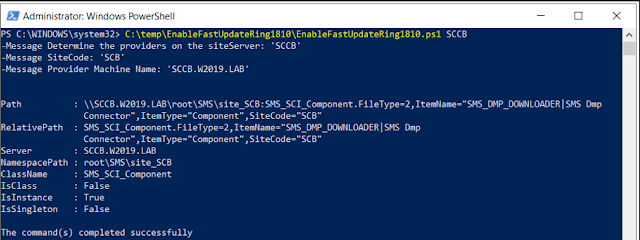
6. Run the script from elevated PowerShell window (ex: EnableFastUpdateRing1810.ps1 SCCB )
Note: Just use server name without FQDN

7. You will get the command(s) completed successfully
8. Now go to \Administration\Overview\Updates and Servicing node in SCCM console then click Check for updates on the ribbon.
9. Refresh the Updates and servicing node in SCCM console, you can see the 1810 update in
downloading state.

10. Review the dmpdownloader.log file
The log should have - Found a new available update then downloading large files with BITS;

11. Wait until the 1810 update status changes from Downloading to Ready to Install in the console

Installing SCCM CB 1810 update:
1. Like any other previous updates, first run the Run Prerequisite check or run the Install update Pack directly;

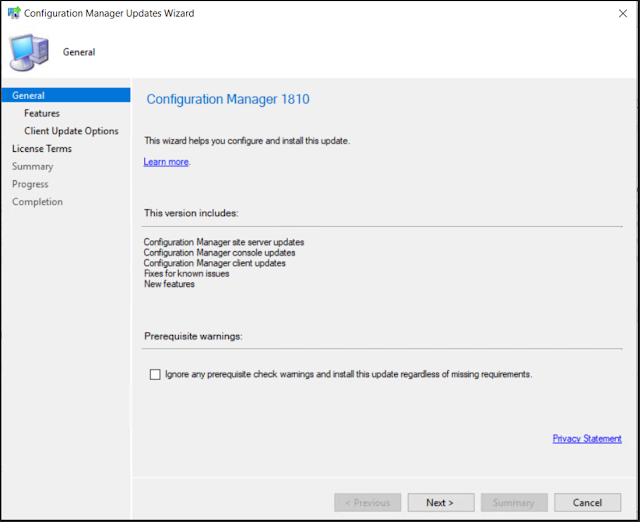
2. The installer will start the Configuration Manager Updates wizard. Click Next on the General tab;
3. Select required features to be installed then click Next;

4. Select required client update options then click Next;
5. Accept the license terms then click Next;

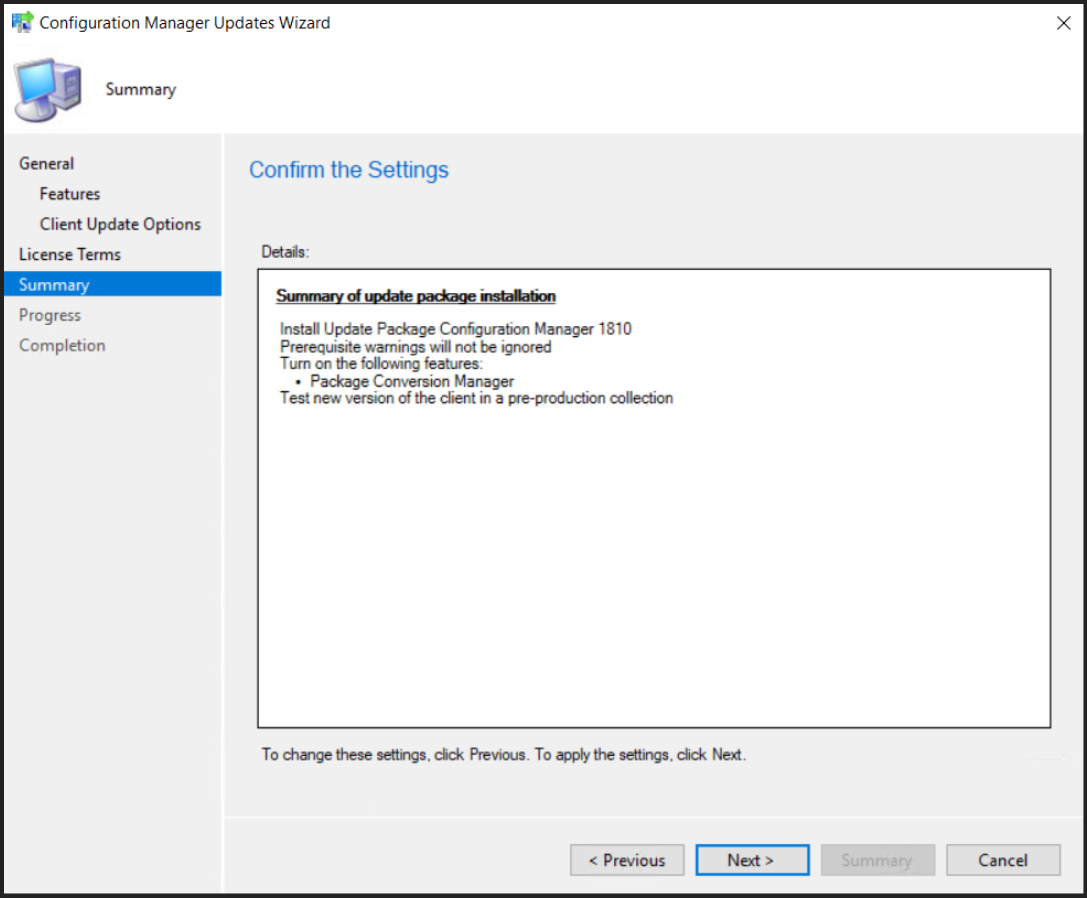
6. Review and confirm the selected options then click Next;

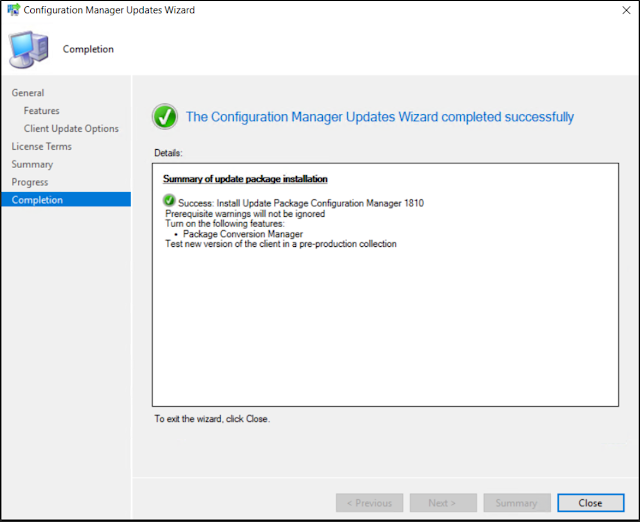
7. Close the completion window;
8. Now the 1810 update state will change from Available to Installing;

9. The detailed progress of the update installation can be viewed from \Monitoring\Overview\Updates and Servicing Status\Configuration Manager 1810 node From the ribbon click on Show status.
 The show status will provide detailed progress of the upgrade process.
The update status also can be checked by reviewing hman.log
It will take 20-30 min (based on the server performance) to complete the upgrade.
Console Upgrade:
After upgrading the site server to SCCM Current Branch 1810, If we re-launch or check the console version, we will get a popup message saying A new version of the console is available (5.1810.1075.1400).

When prompted, Click OK to upgrade the console and follow on screen prompts to complete the upgrade process.

Once the update is installed the version number of SCCM will be;
System Center Configuration Manager Version: 1810
Console Version: 5.1810.1075.1400
Site Version: 5.0.8740.1000

ConfigMgr Current Branch 1810 update is available as in-close update, which can be updated from all supported Current branch versions (1702, 1802 and 1806)
For complete list of features read whats new in 1810
Before proceeding with SCCM branch upgrade, it is very important to review SCCM Current Branch servicing (upgrade) checklist
This step by step SCCM 1810 upgrade guide will guide you through upgrading SCCM Current branch from all supported previous versions to SCCM Current Branch 1810.
Downloading the SCCM CB 1810 update:
1. Use FastRingScript_1810.exe to upgrade the site to 1810 without waiting for global release.
2. Download FastRingScript_1810.exe from TechNet gallery
3. Extract the downloaded FastRingScript_1810.exe
4. Launch PowerShell as Administrator
5. Change the current directory to the FastRingScript_1810 script path
6. Run the script from elevated PowerShell window (ex: EnableFastUpdateRing1810.ps1 SCCB )
Note: Just use server name without FQDN


8. Now go to \Administration\Overview\Updates and Servicing node in SCCM console then click Check for updates on the ribbon.
9. Refresh the Updates and servicing node in SCCM console, you can see the 1810 update in
downloading state.

10. Review the dmpdownloader.log file
The log should have - Found a new available update then downloading large files with BITS;

11. Wait until the 1810 update status changes from Downloading to Ready to Install in the console

Installing SCCM CB 1810 update:
1. Like any other previous updates, first run the Run Prerequisite check or run the Install update Pack directly;

2. The installer will start the Configuration Manager Updates wizard. Click Next on the General tab;

3. Select required features to be installed then click Next;

5. Accept the license terms then click Next;

6. Review and confirm the selected options then click Next;
7. Close the completion window;


9. The detailed progress of the update installation can be viewed from \Monitoring\Overview\Updates and Servicing Status\Configuration Manager 1810 node From the ribbon click on Show status.

The update status also can be checked by reviewing hman.log
It will take 20-30 min (based on the server performance) to complete the upgrade.
Console Upgrade:
After upgrading the site server to SCCM Current Branch 1810, If we re-launch or check the console version, we will get a popup message saying A new version of the console is available (5.1810.1075.1400).

When prompted, Click OK to upgrade the console and follow on screen prompts to complete the upgrade process.

Once the update is installed the version number of SCCM will be;
System Center Configuration Manager Version: 1810
Console Version: 5.1810.1075.1400
Site Version: 5.0.8740.1000

No comments:
Post a Comment