SQL Server Reporting Services is a server-based reporting
platform that provides comprehensive reporting functionality for a variety of
data sources.
The reporting services point in Configuration Manager
communicates with SQL Server Reporting Services (SSRS) to copy Configuration
Manager reports to a specified report folder to configure Reporting Services
settings and to configure Reporting Services security settings.
Reporting Services connects to the Configuration Manager
site database to retrieve data that is returned when you run reports.
Before we install the reporting services point in a
Configuration Manager site, you must install and configure SQL Server Reporting
Services on the site system that hosts the reporting services point site system
role.
Before we add Reporting Service point, we need to install
SQL server reporting instance then configure it.
We can install multiple Reporting Services Points throughout
the hierarchy.
Prerequisites
for Reporting Services Point:
Windows Features:
|
·
.NET Framework 3.5: Including
◦.Net Framework 3.5 (Includes .NET 2.0 and 3.0)
·
.NET Framework 4.5.2
|
SQL Server:
|
·
SQL Server Reporting Services
|
Open SQL
Server 2012 Installation media then run setup
as Administrator;

Click on the Installation
tab on the left, then click on New SQL
server stand-alone installation or add features to an existing installation;


Setup will run the support rules again.

Any error’s must be fixed before continuing with the setup;

Enter the product key or choose a free edition then click next;

Accept the license terms then click next;

On the Setup Role window select SQL Server Feature Installation then click next;

On the Feature Selection window choose Reporting Services-Native
Instance feature, keep the share feature directory on the default installation
path, then click next;

On Instance Configuration page choose Default instance
then click next;

Review the disk usage summary the click next;

Provide SQL Server Reporting Services account name with
password then click next;

On Reporting
Services Configuration select Install
Only then click next;

Choose error reporting options then click next;

Setup will run Installation configuration Rules and make
sure all the operations are passed;

Review the summary of configuration then click Install;

If everything configured correctly the installation will
complete successfully.

Next step is to Install MS SQL 2012 SP3:
Download SQL 2012 SP3 from here https://www.microsoft.com/en-us/download/confirmation.aspx?id=49996
Run SQLServer2012SP3-KB3072779-x64-ENU as Administrator;

Install will check the applicability of the
update, click next to proceed;

Agree the license terms then click next;

The
installer will select the instances by itself. Accept the defaults then click
next;

Wait
until the Check Files In Use scan is complete then click next;

Review
the summary then click on update;

The
update process will take time based on the installed instances;

A
installed feature status summary will be displayed on the Complete window;

SQL Server Reporting Services Configuration:
Once the SQL Server Reporting
Service is installed, we need to configure the Reporting services so
Configuration Manager console can communicate with the Reporting Services.
Launch the Reporting Services
Configuration Manager. This will prompt for connection configuration.
Enter the Server name; which is the server name of the local server (where we are configuring the Reporting Services Point)
Report Server Instance: MSSQLSERVER (or configure the custom instance if you have changed during the SQL server installation)
If you are enter the correct details, that will connect to the Reporting Server Services successfully when you click on connect. For any errors, review the server name and Report Server Instance name then try again.
 Then go to the Web Service URL.

Enter the Server name; which is the server name of the local server (where we are configuring the Reporting Services Point)
Report Server Instance: MSSQLSERVER (or configure the custom instance if you have changed during the SQL server installation)
If you are enter the correct details, that will connect to the Reporting Server Services successfully when you click on connect. For any errors, review the server name and Report Server Instance name then try again.
By default, the web services URL will not be configured.
You can see an exclamation mark on web service URL with “Report
Server Services is not configured. Default values have been provided to you. To
accept these defaults imply press the Apply button, else change them and then
press Apply.”
To configure the web services URL simply press Apply on the bottom without changing anything;

Click on the Database tab on the left side then on the
right side click on Change Database

Change Database will open Report Server Database
Configuration Wizard with two options;
If this is first time configuring report server database then select Create a new report server database, if you have already configured report server database and you want to use it then select Choose an existing report server database;

If this is first time configuring report server database then select Create a new report server database, if you have already configured report server database and you want to use it then select Choose an existing report server database;

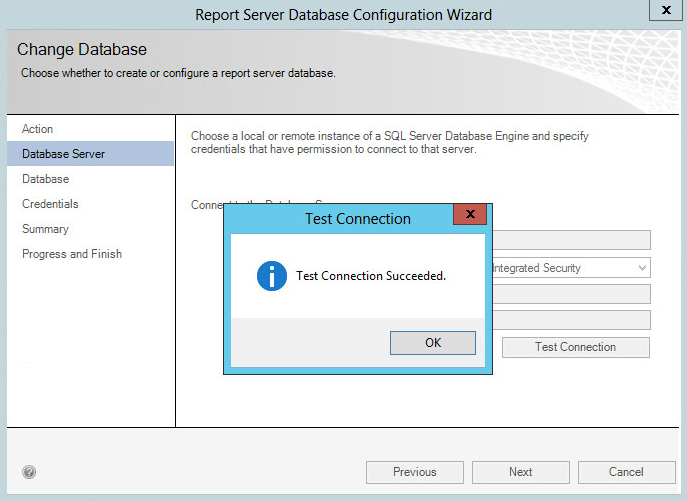
Under Connect to the Database
Server;
Server name: Enter Site database server name
Authentication Type: Current user – Integrated Security

Click on test connection will give you the output of the connection status on the screen;
On the Database tab
enter the Database Name as Report Server.
Here the database name is for Reporting Server database
NOT the site database, which will be created after the wizard;

On the Credentials page authentication type choose
Service Credentials then click Next;

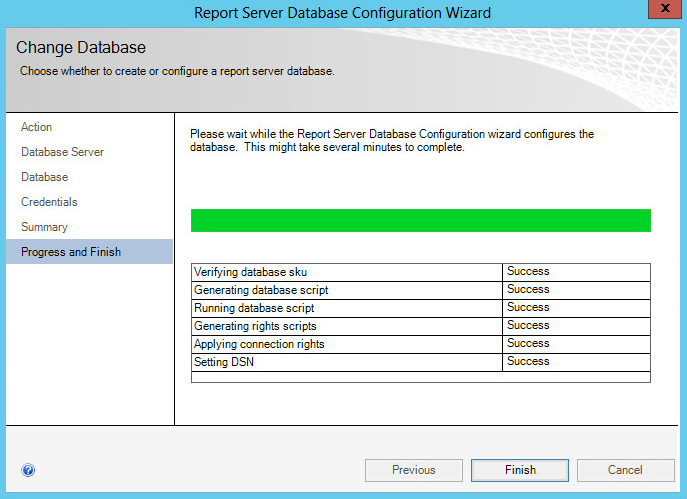
Review the summary of the selected options for Report
Server Database Configuration Wizard then click Next

If everything configured correctly then the configuration of
the database will complete successfully.
Go to Report Manager URL tab on the left, then click apply to configure the Report Manager URL;
(Nothing to be changed here - Clicking Apply will configure Reporting Manager URL)
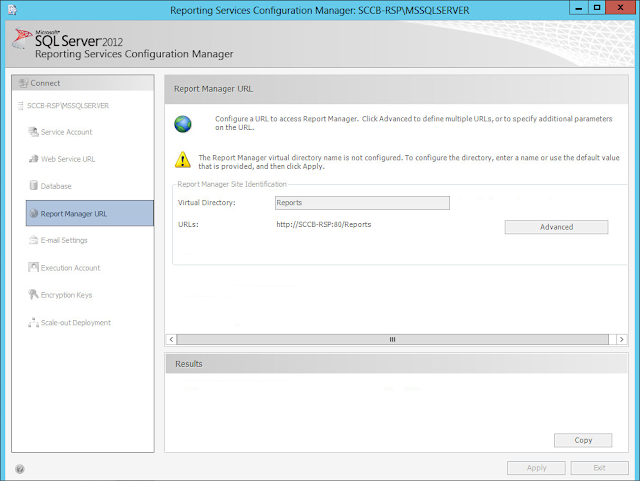
Now the SQL Server Reporting Service is configured and we are ready to install Reporting Service Point.
Installing Reporting Services Point:
Launch Config Manager Current Branch console, then go to \Administration\Overview\Site Configuration\Servers and Site System Roles
Right click on Servers and Site System Roles then choose Create Site System Server;

On Select a server to use as a site system window, enter
FQDN of server name where we have installed SQL Server Reporting services.
Select Use the site servers computer account to install
this site system for site system installation account then click next;

If required enter internet proxy server details then click
next;

Select Reporting services point role then click next;

By default the installer will pick the default values
from the site database server with red exclamation marks.

Once we enter the correct SQL database (site database
server FQDN) server name, we should be able to successfully verify the database
name.
Also if we configured the Reporting Services
configuration correctly, then the reporting services server instance also
resolve the name.
Enter a username for SQL Reporting Services to communicate
with the SQL Server Database then click next;

Review the summary then click next;

If everything is configured correctly then the create
site system server wizard will complete successfully.

Check srsrpsetup.log under C:\SMS\Logs and the log should
say Installation was successful.

Test the reports from console. The reports should start showing up slowly, first it will show only few nodes but eventually will show all.

If the reporting Services not configured as described in SQL Server Reporting Services Configuration step, you will receive "There is a problem connection to the specified reporting server. Please check the connection and make sure SQL reporting services is running on the specified server".

Configuring SQL Server Reporting Services will solve this problem.
This concludes the installation of standalone Reporting Services Point for System Center Current Branch 1511.
Click here
for complete SCCM 1511 Current Branch setup step by step guide.
Click here
for complete SCCM 1511 Current Branch step by step guide, step by step migration
guide, step by step monitoring and health check guide and step by step SCCM
Current Branch servicing guide.
No comments:
Post a Comment